Happy New Year!
Lowest Price Guarantee

Archive for the "How-To Guides" Category

How to Set Up a Dinner Table Properly

Whether you’re dining at a restaurant, enjoying a meal at a friend’s home, or hosting guests, knowing how to set a table properly can make a significant difference. There are two primary types of table settings: formal and informal. Both have their own unique guidelines, but they share common principles that ensure a pleasant dining experience.

Informal Place Setting

An informal table setting is straightforward and involves fewer pieces of tableware, as it typically caters to fewer courses. This setting is likely similar to what you use for everyday meals at home. Here’s a quick rundown:

  • Plates: Place the dinner plate in the center.
  • Forks: Place two forks to the left of the plate. The salad fork goes on the outside, and the dinner fork is closest to the plate.
  • Knives and Spoons: On the right side of the plate, place the knife closest to the plate (with the cutting edge facing inward), followed by the dinner spoon and soup spoon.

For affordable and stylish casual dining tableware, consider Oneida products. Patterns like Icarus, Calm, Camlynn, and Tuscany offer reasonably priced designs. 

Formal Place Setting

A formal place setting involves more pieces to accommodate multiple courses, such as salad, bread, soup, drinks, a main course, dessert, and coffee. While it may seem daunting, following these guidelines will make the process easier:

  • Plates: Center the dinner plate.
  • Forks: Place the salad and dinner forks to the left of the plate.
  • Knives and Spoons: On the right side, place knives with their cutting edges facing the plate, except for the butter knife, which should be laid flat.
  • Additional Items:
  • Bread plate with a butter knife on the top left.
  • The dessert spoon and fork can be centered above the dinner plate.
  • A napkin is to be placed on your lap immediately upon sitting

For formal dining, consider Gorham sterling silver flatware sets, including Buttercup, Chantilly, Fairfax, and La Scala. For formal stainless patterns, consider brands like Lenox and Vera Wang.

Dessert

Dessert utensils can either be set with the main table setting or brought out just before dessert is served. Place the dessert fork and/or spoon centered above and parallel to the dinner plate. Once the dinner plate is removed, you can move the dessert utensils to the left side of your place setting.

Silver Superstore’s Fortessa collection includes a variety of dessert flatware options like Bistro, Apollo, Caviar, and Grand City—all available at great prices.

Proper Usage and Finishing Etiquette

Remember the golden rule for using utensils: start from the outside and work your way in towards the dinner plate. Once a course is finished, the used silverware should be removed.

A subtle yet important tip to signal to your server that you’ve completed your meal is to place your silverware at a 4 o’clock to 10 o’clock angle, with the knife blade facing you.

By following these guidelines, you’ll be well on your way to mastering the art of table setting, impressing your guests, and enhancing your dining experiences. Happy hosting!

View Full Article

Keep It Classic: The History of ‘The Old Fashioned’

Old fashioned cocktail on a counter with a pitcher and bowl

Who doesn’t love a good cocktail? Unfortunately, due to the ongoing pandemic, the pleasure of enjoying a craft cocktail at a bar or restaurant with friends is either limited or impossible.

As with many COVID-related bummers, people are managing to find a silver lining on this dark cloud in the form of getting creative with making cocktails at home!

Here at Silver Superstore, we believe everyone’s home should be their sanctuary, fully equipped with everything you need to have a great night in at home. With that being said, we would like to share a little bit about the classic, easy-to-make, whisky-based cocktail, the Old Fashioned.

During these trying times, nothing will help liven your spirits (or dull the pain) better than this classic drink. Keep reading to learn a little about the history of this cocktail and how to make it.

The history of the Old Fashioned

When you think of the Old Fashioned, you probably picture Mad Men and Don Draper. That’s because this adult beverage was largely popularized in the 1960s following the 1963 release of the film It’s a Mad, Mad, Mad, Mad World.

Yet, the drink dates back long, long before the sixties (hence the name). The name was given to the drink when fancy flavored drinks began to gain popularity in the 1880s and 1890s. Those who ordered this drink wanted their alcohol the old-fashioned way, without all the frills and add-ins.

The first iteration of the drink dates back to 1862, when Jerry Thomas (author of Bartenders Guide: How To Mix Drinks) published a recipe for the Old Fashioned Holland Gin Cocktail. Fast-forward to 1880 in Louisville, Kentucky, when James E. Pepper came up with a Bourbon-based version of the drink, and the modern version we all know and love was born.

Since then, and since it’s popularization in It’s a Mad, Mad, Mad, Mad World and Mad Men, the drink has morphed into a symbol of the classic drink, evoking the image of sophisticated, masculine, and “classic.” Fun fact: it’s also, allegedly, the most Googled cocktail recipe today!

How to make the Old Fashioned cocktail

So, what is the Old Fashioned? It’s a bourbon or rye whisky-based drink often served over ice with an orange peel or cherry garnish.

To make one serving, you’ll need:

  • 45 ml Bourbon or rye whisky
  • 1 sugar cube or ¼ oz simple syrup
  • 2 or 3 dashes of Angostura Bitters
  • A small splash of water (optional)
  • Orange peel or cherry for garnish (optional)

Directions:

Place ingredients in a traditional Old Fashioned glass, fill halfway with ice, and stir until chilled. Express the orange peel over the rim of the glass, then garnish the drink with the orange peel. Enjoy!

View Full Article

History & Care: The Guide to Vintage Silverware

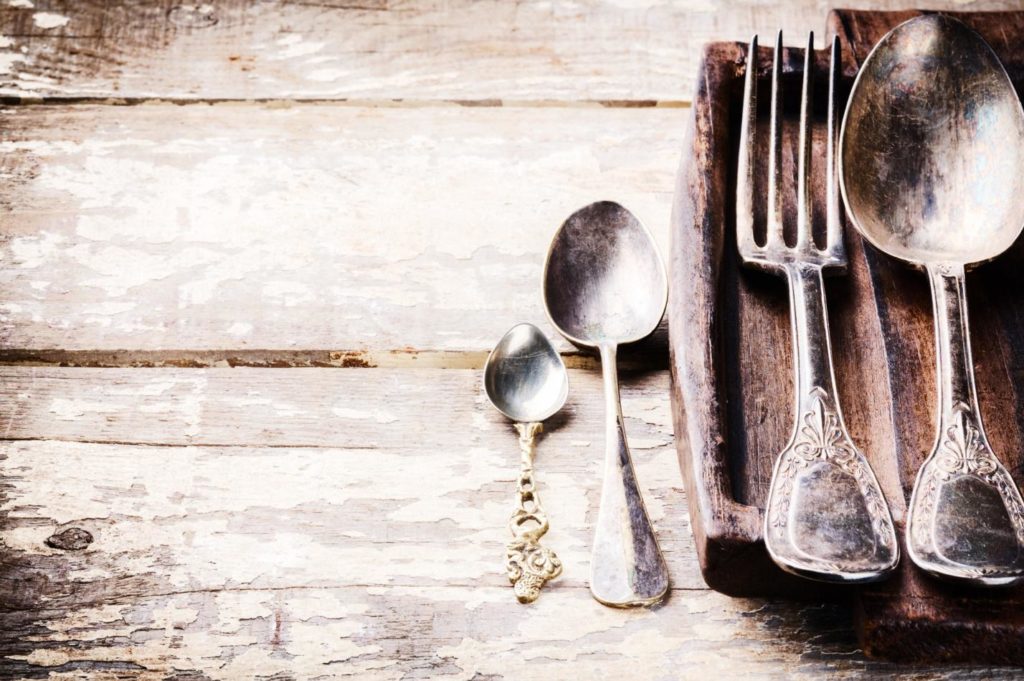
Antique Vintage Silverware on wood table

Flatware has become such an everyday feature of our lives that we rarely stop to consider its origins and history. Today, you can go to any department store and find a set of stainless steel silverware, but that wasn’t always the case.

In fact, the cutlery that you see today was predated by vintage silverware. Interested? Here’s a deep dive into the history of vintage silverware.

History of Vintage Silver Flatware

The existence of flatware dates back to ancient times. However, the more refined flatware made of metal materials has only been commonly used in the last 4 centuries. England has been long renowned as the best producer of flatware since the 1600s.

The following century saw the rise of silversmiths who specialized in turning silver coins into top-quality cutlery. These silversmiths would later be known as cutlers or those who make and sell cutlery. This silverware was typically carried around by their owners and was deemed as very personal items. Silverware wasn’t globally popular until the 18th century when the price of silver was afforable enough to appeal to middle-class families.

Sterling silver flatware saw a decline in popularity after the invention of stainless steel flatware fabled to have been invented by Harry Brearley in 1916.

Vintage Silverware Today

Vintage silverware is still very much in vogue. The skillful craftsmanship utilized to create the ornate filigree and lasting-designs of vintage silverware make it a well-sought after collector’s item within the antiquing community. Vintage silverware can also be found in ‘living museums” which aim to recreate specific time periods.

Some top-tier venues may offer vintage silverware for special events including weddings and dinners. However, this isn’t common practice as vintage silverware is typically held as a part of a collection and not used for eating.

How to Care for Vintage Silverware

Vintage silverware requires very delicate handling and specific care. Their ornate patterns can cause dust and debris to settle in hard-to-reach places. Additionally, collectors must take care to prevent rust which naturally occurs due to oxidation. Vintage silverware may need polishing alongside a strict cleaning regime.

While cleaning vintage silverware isn’t particularly difficult, it’s best to let a professional take care of these duties. If your collection is particularly valuable or features precious stones, hiring someone to pay special attention to detail might be your best bet.

That said, if you have a collection that you would prefer to clean at home, there are plenty of DIY methods that will help to extend your silverware’s life and protect its shine. Here’s how to clean vintage silverware at home.

  1. Place a dinner knife closest to the charger, then the salad knife, teaspoon, and soup spoon following
  2. Place a butter knife on top of the bread plate
  3. Place a dessert spoon directly above the charger
  4. Place a water glass above the dinner knife, with your red and white wine glasses following
  5. If you’re using individual salt and pepper shakers, place them above the dessert spoon
  6. Place the place card above the dessert spoon

Final Thoughts

Whether you are in the market for vintage silverware or simply want to keep your great grandmother’s collection as flawless as possible, it’s important to have a thorough understanding of the care that comes with owning vintage silverware. Without proper care, the silverware will tarnish and gradually lose its value. Take pride in caring for your silverware!

View Full Article

Kitchen Cutlery Every Cook Should Have

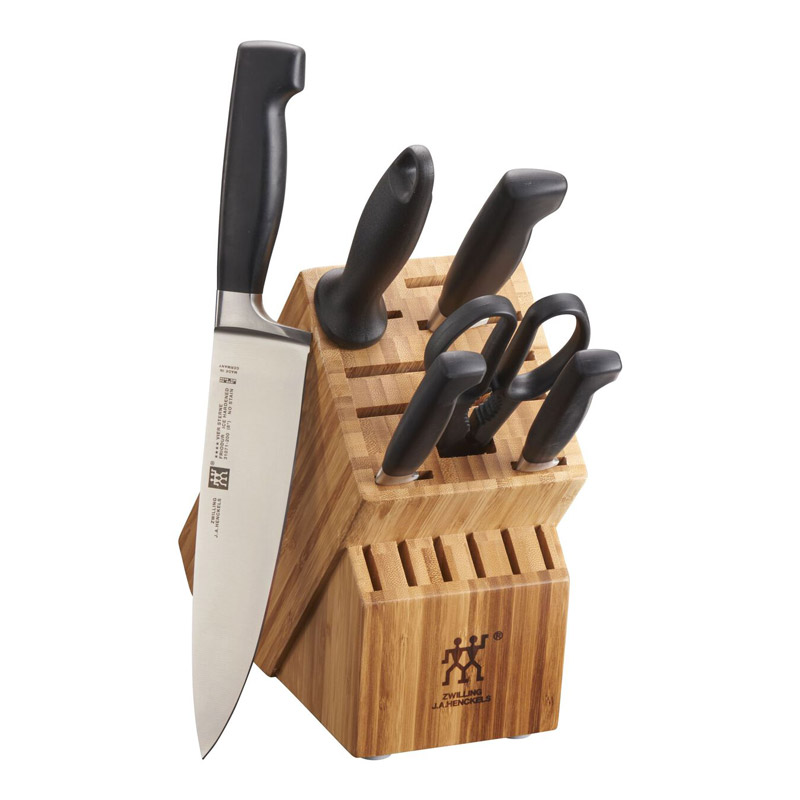
Chefs knives in knife block

There’s an appliance for every step in cooking nowadays, but knives remain the most important tool in our kitchen. While professional knife sets can include up to 18 different knives, there are about four or five essential kitchen knives every cooking enthusiast should have.

Chef’s knife

The long, smooth blade of a chef’s knife is perfect for slicing and chopping most fruits, vegetables, and meats. When turned on its side, its flat surface can be used to crush ingredients. A chef’s knife is the most versatile knife in your knife drawer, so it will see the most use out of all your knives.

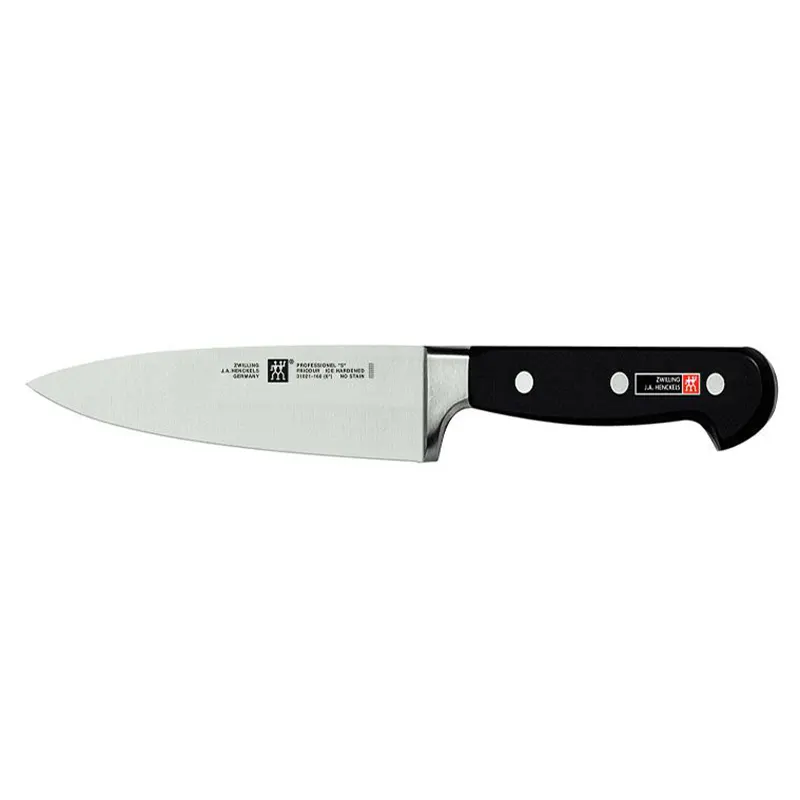
Chefs knife with black handle

When shopping for a chef’s knife, look for one with a stainless steel blade and durable handle. The 6-inch chef’s knife from Zwilling J.A. Henckels Twin Pro S Collection is a good choice for cooks of every level.

Paring Knife

Mushrooms, berries, small cuts of meat, and anything else requiring a 4-inch blade or less can be tackled with a paring knife. Paring knives can also be used to peel skin from ingredients like apples and potatoes. If you’re looking for a quality paring knife, try the paring/boning knife from the Henckels Twin Pro S Series.

Bread/serrated knife

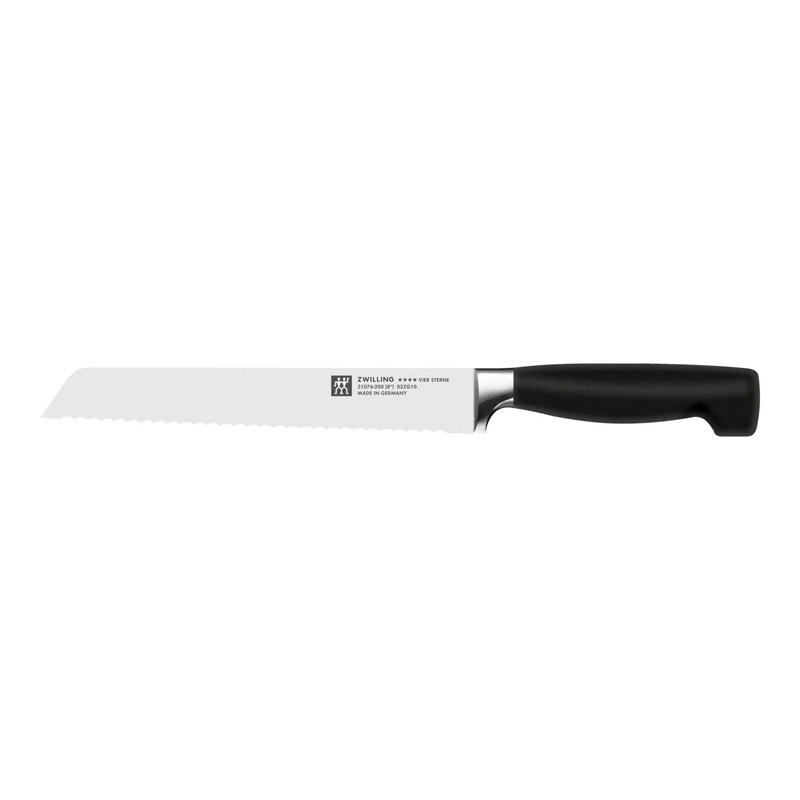
zwilling bread knife black handle

A bread knife will have a long, serrated blade that tears rather than cuts.

Not just for bread, bread knives can be useful for cutting other soft-fleshed ingredients like tomatoes. The 8-inch bread knife from JA Henckels Twin Pro S Series is a good choice for those looking to add one to their collection.

Carving fork

Though arguably not a knife, a carving fork is an irreplaceable tool for anyone who makes a lot of roasts, hams, and turkeys. They have one unique purpose, which is to hold meat in place during the carving process. Although its design is simple, quality is important when selecting a carving fork. The Four Star Series carving fork is strong enough to hold every roast that comes out of your oven.

With so much variety to choose from these days, knives don’t have to be expensive, but they do have to be well-made. Look for quality first when shopping for your next knife, and remember to sharpen your knives regularly to get the most out of your new favorite tools.

View Full Article

Must-Have Tools & Cookware for Beginner Grillmasters

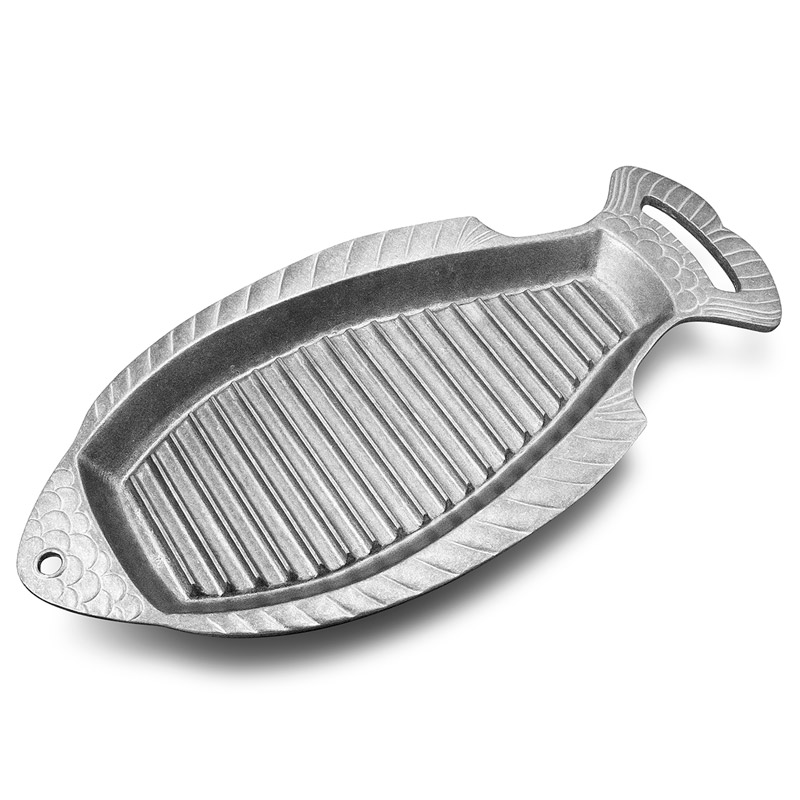
Grillware shaped like a fish

Summer is upon us, and that can only mean one thing: grilling season is here. One of the most rewarding feelings is inviting over all your family and friends for some good ol’ grilling. See, back in the days grilling was much more simplistic, but over the years its become a sort of art form for many.

However, if you’re new to the craft, you might be a little intimidated and or unaware of the essential tools to do the job right. Worry no more, the following are a list of the essential grilling tools you will need to do a proper job this summer.

Gourmet Grill Pan

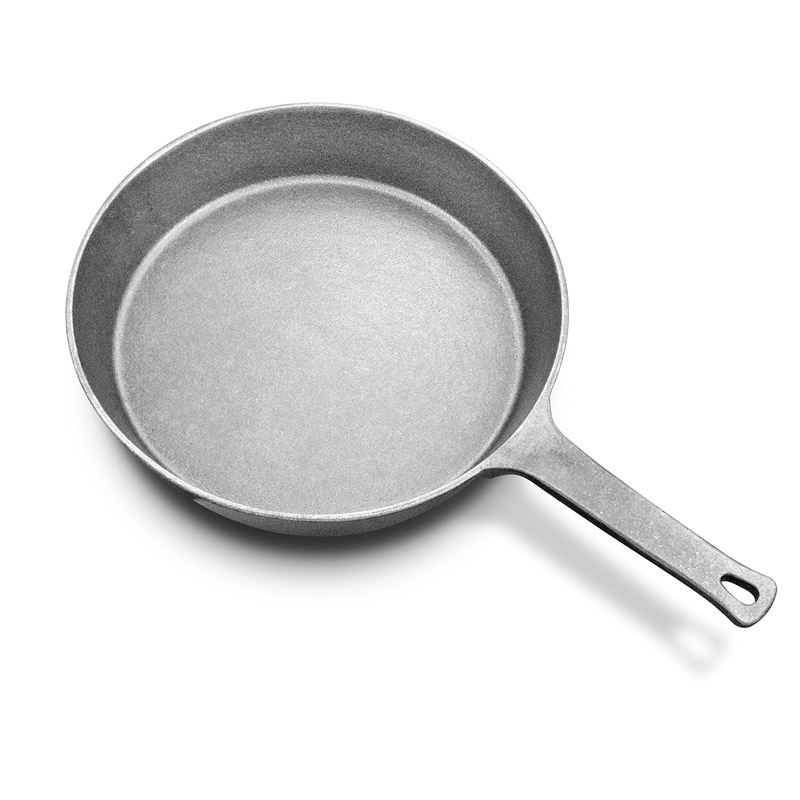
Grillware pan with handle

Able to withstand heat over 1000°F, a gourmet grill pan provides a person with the ability to keep their foods heated for a longer duration. Your food might come out perfect, but if you can’t keep it heated, then what’s the point? Utilizing the features of this gourmet grill pan will no doubt expand the variety of foods you can provide to your friends and family without the issue of having it go cold.

Our gourmet grillware chef pan is ideal for this purpose.

Long-Handled Spatula

A staple of grilling tradition has always been the spatula. However, over the years, this simple tool has gone through extensive changes for the better. Spatulas are an essential tool due to their frequent use and importance to the condition of your food. We highly suggest a long-handled spatula that will keep the heat away from your hands and can easily slide under your food without totally destroying it.

Meat Thermometer

Although some seasoned cooks will claim that they know when their food is ready simply by looking at the condition of the meat, you’re not entirely there yet. One of the most overlooked tools when grilling is a meat thermometer that can tell you when your food is ready for consumption. The last thing you want to do is give your family and friends undercooked meat that can cause sickness.

Griddle with Handles

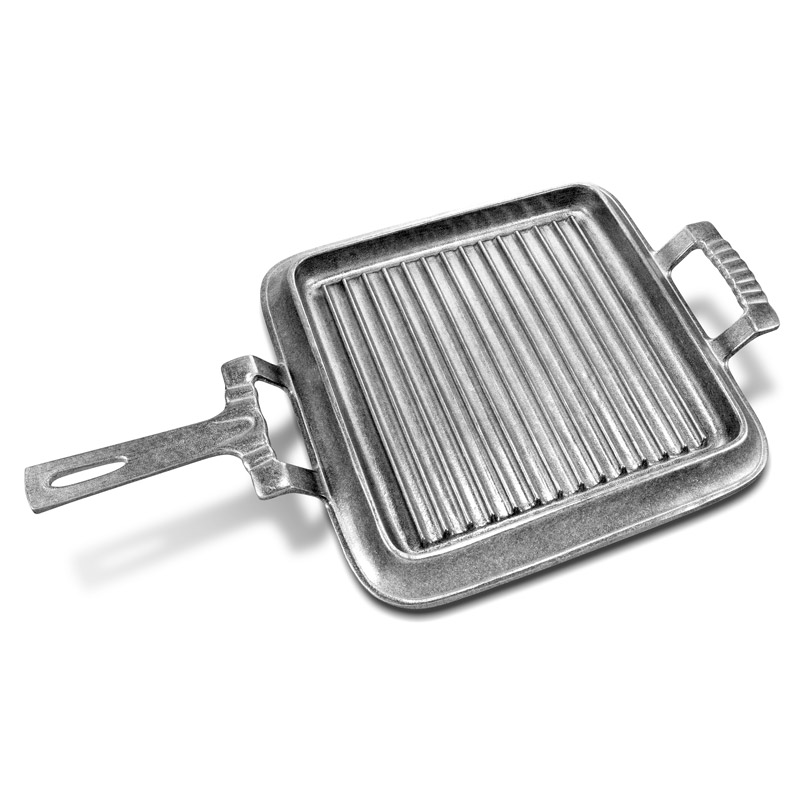
Square Grillware pan with handle

Those with big families understand the importance of being able to cook as much food as possible. However, this often means constantly using the grill and getting it dirtier each time you use it. A griddle allows one to place the pan over the heated surface and provide the griller with the opportunity to cook food such as burgers. The handles attached to the griddle also provide you with the freedom to directly pass out the meat patties onto the table as quick as possible.

Use our square griddle with handles for the most elegant presentation of your freshly-grilled patties.

Grill Brush

Last but not least is the grill brush. One of the most important things to do after every cookout is to clean the grill thoroughly. Cleaning your grill after every use is one of the most important things to do in order to not only keep your food healthy to eat but also to maintain and extend the life of your grill. The best way to use a grill brush is to first pre-heat it for about 10 to 15 minutes. This will allow your cleaning process to go a lot smoother and will also aid in removing any excess food particles from your previous cookout.

Check out the full Silver Superstore gourmet grillware collection by Wilton Armetale, ideal for novice and expert grilling enthusiasts.

View Full Article

Spring Cleaning with SilverSuperstore

If you’re like many hosts who entertained during the winter holidays, your spring cleaning to-do list is growing rather than shrinking.

The silver remains unpolished. A roll of Santa wrapping paper lives under the bed. Your list of New Year’s resolutions still mocks from beneath a refrigerator magnet, and a heart-shaped cookie plate keeps showing up on the breakfast table.

Restoring order so that you can focus on your soon-to-be beach body is easier than you think. Once you make a little progress, spring cleaning goes surprisingly fast. It’s simply a matter of careful planning and investing in a few products that will help you stay organized year-round.

Start with the easy stuff. Walk through your house with fresh eyes and throw out or recycle anything, like the wrinkled Santa paper, that you have no intention of using again. Disposing of clutter feels good. You’ll like it.

Here are some additional tips:

Tackle One Room at a Time

Resist the temptation to start a new project before you complete the first one. Choose one room and work methodically around the perimeter to stay on task. Finish up in the interior.

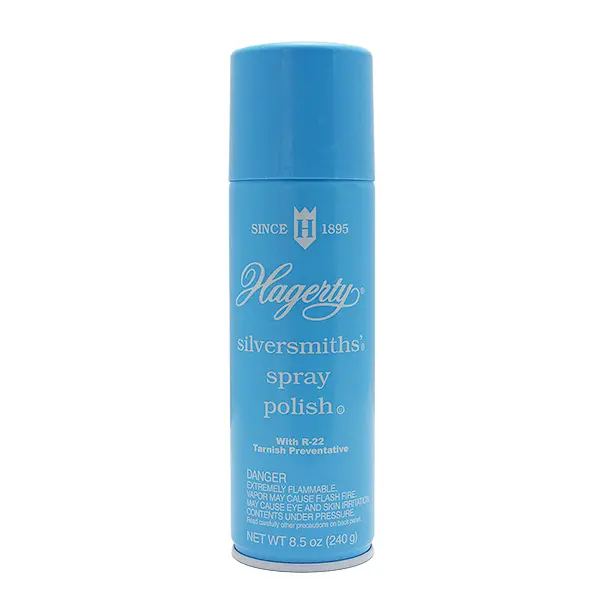
Blue can of hagerty silversmiths spray polish

When in doubt, start with the heart of the home. Family members and guests gravitate to the kitchen, so that’s where the most clutter collects. That’s where the most messes are made.

Before you come up with a better storage plan for your flatware, set aside time to polish the set. Procrastinating can damage silverware that was crafted to last for generations.

We offer a wide variety of cleaning products and accessories, such as polishes, dips, gloves and special brushes, to make your life easier. The Hagerty brand has manufactured silver-cleaning products since 1895. We also feature products from the Cape Cod Metal Polish Company. Their soft, lightly vanilla-scented cloths make this seem less like a chore and more like a treat for the senses.

Be sure to read all the instructions and consult our thorough guide to cleaning silverware.

Find Storage Solutions

Keeping a tidy home is difficult if you don’t have a designated spot for everything. If your stainless-steel pie server tends to wind up in the same drawer with the screwdriver and spare batteries, it’s time to get organized.

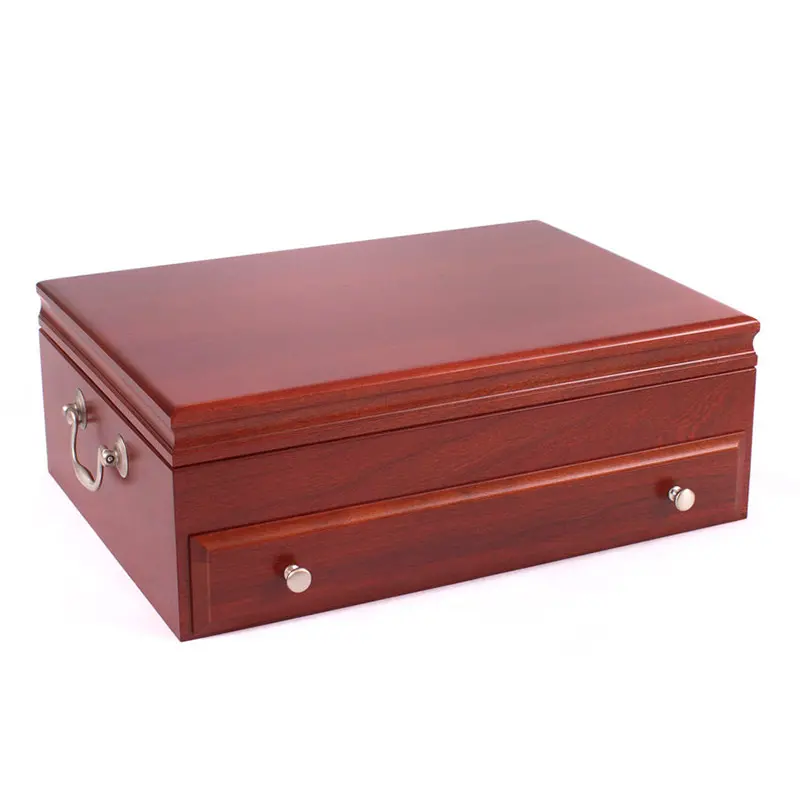
wood flatware chest with front knobs and side handles

We have a wide assortment of storage chests for flatware. Many are made by trusted names such as American Chest Company and Reed & Barton. They come in all designs, heights and widths to suit your needs. Larger chests are tiered or feature drawers to accommodate odd pieces. You can choose from several gorgeous finishes like oak, walnut, maple, mahogany or cherry. An engraved nameplate is sure to make your storage chest a treasured heirloom someday.

If you don’t want something quite so large or formal, take a look at our fun, three-piece Towle ceramic caddy. The square containers sit on a wooden tray for easy reach on your island or counter top. Don’t overlook our divided drawer liners and tarnish-preventing storage bags for oddly shaped pieces like teapots.

We’ve thought of your jewelry too, so be sure to browse our collection of chests and stackable cases.

Properly storing your flatware and jewelry not only preserves their good looks, but it helps you keep track of each and every piece at a glance.

Shoot for Both Form and Function

You don’t have to be a hoarder to feel like your possessions are taking over, but there are some things you just can’t throw away. Car keys, sunglasses, photos, coins and dry-cleaning tickets make even the most elegant decor look trashy.

A few paul revere bowlswith fruit and books

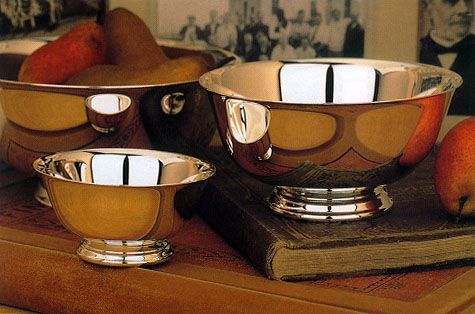
Prevent your collection of day-to-day items from becoming an eyesore. Set a classic Paul Revere bowl on a console table or kitchen counter top for odds and ends. The gleaming silver-plate finish will make you forget all about the contents. They are also ideal for potpourri, guest soaps or fruit.

Our lovely, diverse trays and picture frames will also beautify your home and provide storage solutions all at the same time. Inspiration for spring cleaning is just a click away.

View Full Article

Beginners Guide To Seafood Cutlery

Fish shaped chowder spoon

To the delight of rich folks all over England, separate courses became a way of dining and showing off in the 1850s. Twenty-four-piece place settings were not uncommon. Even guests who didn’t know any better found it hard to prop their elbows on the table.

A Beginners Guide To Seafood Cutlery

Seafood utensils, some of the most misunderstood pieces of flatware, emerged during this time. Most are lovely and unusual, but a few are downright intimidating. Guests often wait nervously until a savvier dinner companion leads the way.

Consider escargot tongs. The French are mad about snails and consume around 40,000 metric tons of them every year. Snails have received a much cooler reception in the U.S. Whether that is due to deep-seated loathing or general confusion about how to use the tongs is anybody’s guess, but it has made for some outstanding comedy.

Lucy Ricardo of the TV classic “I Love Lucy” decided that escargot tongs were provided as a kindness for coping with the fishy smell. In one of Lucille Ball’s funniest moments, she gratefully clamped the tongs onto her nose.

Julia Roberts’ character in “Pretty Woman” successfully used the tongs to grab a snail, but the “slippery little sucker,” as she put it, shot halfway across the formal dining room.

Common Seafood Utensils

When it comes to rounding out your silver collection, it’s a mistake to overlook most other seafood utensils. These pieces aren’t just charming additions to the table, but they are highly functional tools for getting the most flavor out of the ocean’s bountiful harvest.

Some of the most succulent tidbits just can’t be accessed without a seafood fork. Fish knives ensure that fish easily falls free from the skin so that not a bite is wasted. Serving pieces are designed to keep the fish intact on the journey from the serving dish to the dinner plate.

Seafood cutlery goes under a wide variety of names, but here are some of the most common pieces:

fish fork with mirror finish

Fish fork – It is typically smaller than a dinner fork, has fewer tines and has an inwardly curving shape to distinguish it from a dinner fork.

beaded style fish knife with mirror finish

Fish knife – This piece is smaller than a steak or butter knife. It has a sharp, broad, curving blade for separating skin from flesh. The width also helps each flaky bite onto the fork. The top of the blade has a razor-sharp point for removing even the tiniest bones.

set of 4 fish shaped cocktail forks

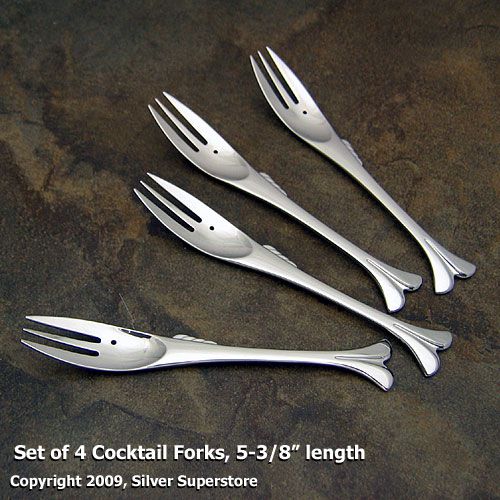
Cocktail, seafood, shellfish and snail forks – These dainty, long-handled forks go under a variety of names and are often used interchangeably. They spear shrimp, dig deep into the tight crevices of crab legs or easily remove just about any other meat from shellfish. They usually have two to three short tines to keep delicate meat intact.

mirror finished oyster fork

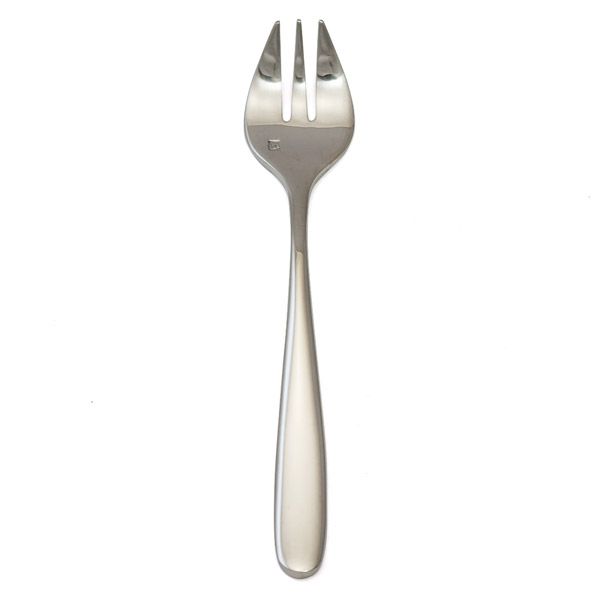
Oyster fork – This fork is shorter and usually has one long, thin tine that divides into two hooks. It may also have a straight center tine with two hooked tines on either side.

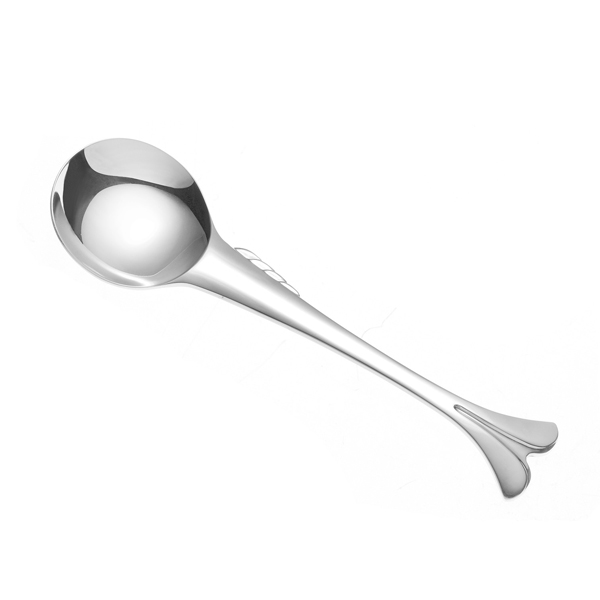
Gumbo spoon – The gumbo spoon holds bragging rights as the biggest soup spoon of all. The deep bowl is for catching every bite of those savory meats and vegetables.

The utensils are placed according to order of use starting from far left and far right and progressing toward the plate at the center. If a fish course is first, put the fork on the outer left and the knife on the outer right. For seafood entrees, put them where the ordinary fork and knife would go.

Interestingly, the oyster fork always goes on the outer right. It is the only fork of any kind that belongs to the right of the plate.

A Treasure Trove of Choices

We offer a wide variety of seafood utensils and serving pieces to delight your guests. Browse these patterns by the world’s finest silversmiths for deep-sea inspiration:

Frances I by Reed & Barton
Grande Baroque by Wallace Silversmiths
Albi by Christofle
Siren by D&V
Lucca, Bistro and Grand City by Fortessa
Gone Fishin’ by Yamazaki
Royal Danish by International Silver Company

Don’t forget to make your pieces truly unique with personal engraving.

View Full Article

A Breakdown of our Engraving

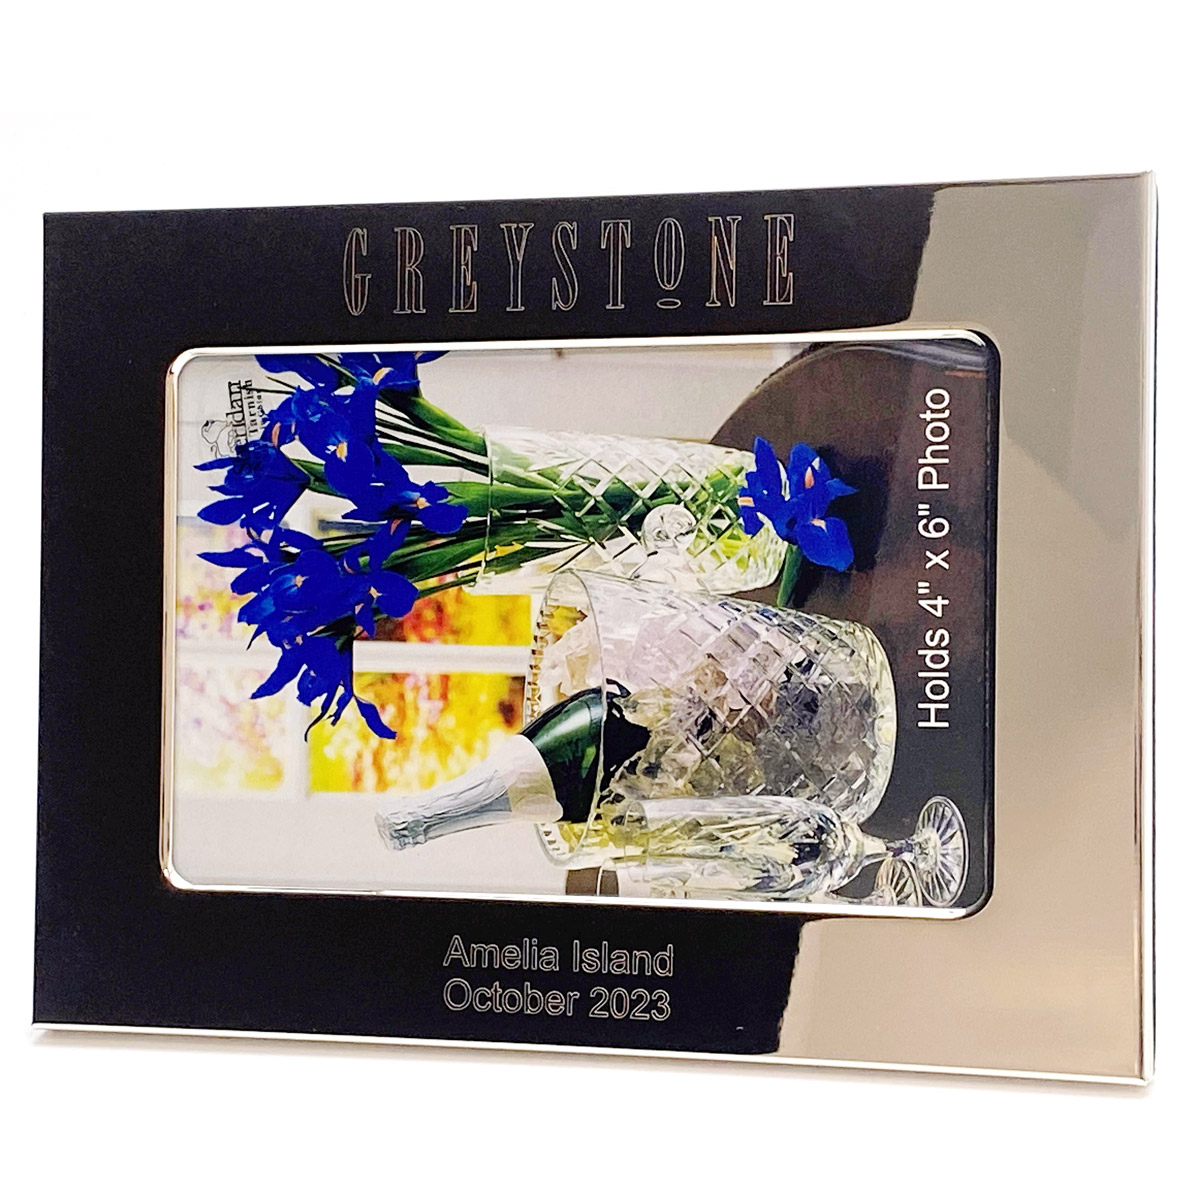
Engraved photoframe with flowers in it

Nothing makes a gift more personal than customized engraving. Not only does the recipient feel valued and special, but engraving adds context for future generations that come across treasures passed down in families.

Silver Superstore is proud to offer this silver engraving to our customers, and we wanted to pull back the curtain and share what goes into this process that turns any ordinary gift into an extraordinary one.

There are two techniques for enhancing gifts with a personal touch.

Diamond-drag Engraving

This most traditional of methods, also known as scratch engraving, utilizes a spindle and a diamond-tipped cutting tool. The conical diamond bit rotates if the spindle motor is activated. The motor is not required, however; a non rotating diamond bit may simply be dragged over the engraving surface to create the impression. Usually, both techniques are employed. Clamps and jigs are used to hold the engraving surface in place and prevent slippage.

When done with expertise, diamond-drag resembles hand-engraving. The width and depth of the strokes are consistent.

Thanks to modern technology, this type of engraving is faster, easier and more precise than ever. The image or text to be engraved is first entered into a computer software program. The program reads it and transmits the data to the engraving machine.

The diamond-drag method is best for coated or uncoated metals. It may also be used on glass or crystal gifts. It’s the best choice for simple text, logos or graphics.

This method has many advantages:

  • Although it’s not as versatile as laser engraving, the impression is deeper for elegant, high-end appeal.
  • Lettering and design markings are thin and uniform with strokes no wider than 0.1 millimeter.
  • It looks and feels like hand-engraving.
  • The engraving equipment absorbs vibrations to ensure quality, and the result is long-lasting.

Laser Engraving

Unlike the diamond-drag method, laser engraving is noncontact. No physical force is applied to the engraving surface.

Instead, highly concentrated light beams remove glass, crystal, stone, tile, wood, plated metals or other materials to create the engravings. In the case of metals, a marking compound combined with the heat of the laser leaves a permanent mark.

There are several benefits to laser engraving:

  • It is suitable for a wider variety of materials than diamond-drag engraving.
  • It’s ideal for graphics or photographs on raster, bitmap or JPEG files.
  • It can capture intricate designs and fine details.
  • It is permanent.

The Perfect Gift for a Special Someone

Our gifts and collectibles, for every occasion from Christmas to college graduation to the arrival of a new baby, come in a diverse assortment of materials.

We can engrave brass, sterling silver, silver plate, stainless steel, pewter, crystal, glass, gold and copper. Whatever gift you have in mind, we can make it as unique and memorable as you envision it.

If you need ideas, scroll through the extensive list of items available for engraving below. Then, just choose the typeface that you prefer.

For babies:

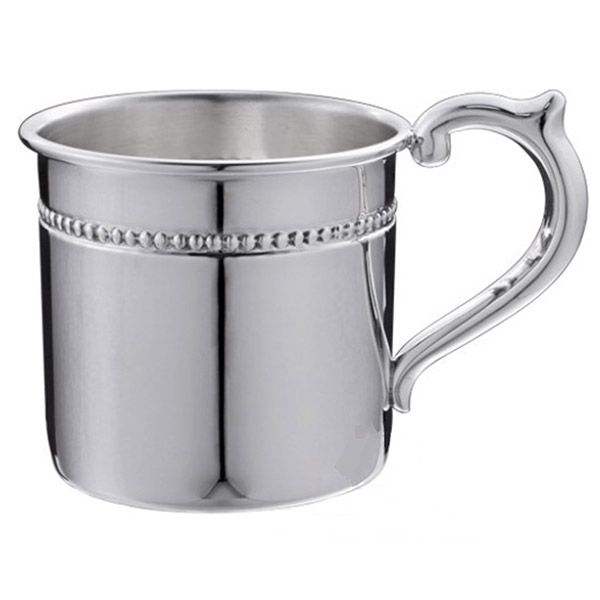
Beaded Baby Cup with fancy handle and mirror finish

For kitchen and dining:

For the bar:

For weddings:

Other gifts:

We also offer several styles of engravable Gift Tags.

Any gift is more special when you add the personal touch of engraving. Use a little imagination, and your loved one will cherish your thoughtful keepsake for years to come.

View Full Article

How To Polish Silver

A Complete Guide To Cleaning Silver

Silver is among the most beautiful precious metals found on Earth. It is rare enough that owning it is a status symbol. It is also common enough to be an affordable luxury. If you enjoy silver, you may have a collection of silver coins, a few pieces of silver jewelry or a set of silver flatware. You may even have a treasured set of silver Moscow Mule mugs or julep cups.

If silver has any weakness as a precious metal, it is the fact that it forms silver sulfide after prolonged exposure to sulfur in the air. The black tarnish mars appearance of the otherwise beautiful metal. Severe tarnish might even cause you to avoid displaying or using your silver items.

Don’t let the fear of tarnish prevent you from using your silver regularly. Polishing silver is actually quite easy. Doing it safely, though, takes time. You want to remove the worst of the tarnish without damaging the silver’s finish or removing the natural patina, so patience is a virtue when polishing silver.

Keep these tips in mind when you clean your silver at home.

Frequent Use

The best way to keep your silver clean is to use it regularly. If you own any silver jewelry, you may have noticed that it tarnishes most quickly when you store it. If you wear silver jewelry every day, you can typically wait years between polishing sessions. The same is true of your silver flatware, plates, cups and other items. If you use them regularly, you can polish them less.

Basic Silver Cleaning

After each use, you should clean your silver with mild soap and water. After cleaning the silver, dry it thoroughly with a soft non-abrasive cloth. You can use a soft dish towel or a microfiber cloth.

To clean your silver safely, avoid soaps containing citrus or phosphates as those substances can pit the silver. Also, don’t allow the silver to touch stainless steel. If you clean your silver inside a stainless steel sink, place a plastic tub inside the sink or line the sink with a towel.

Deep Silver Cleaning

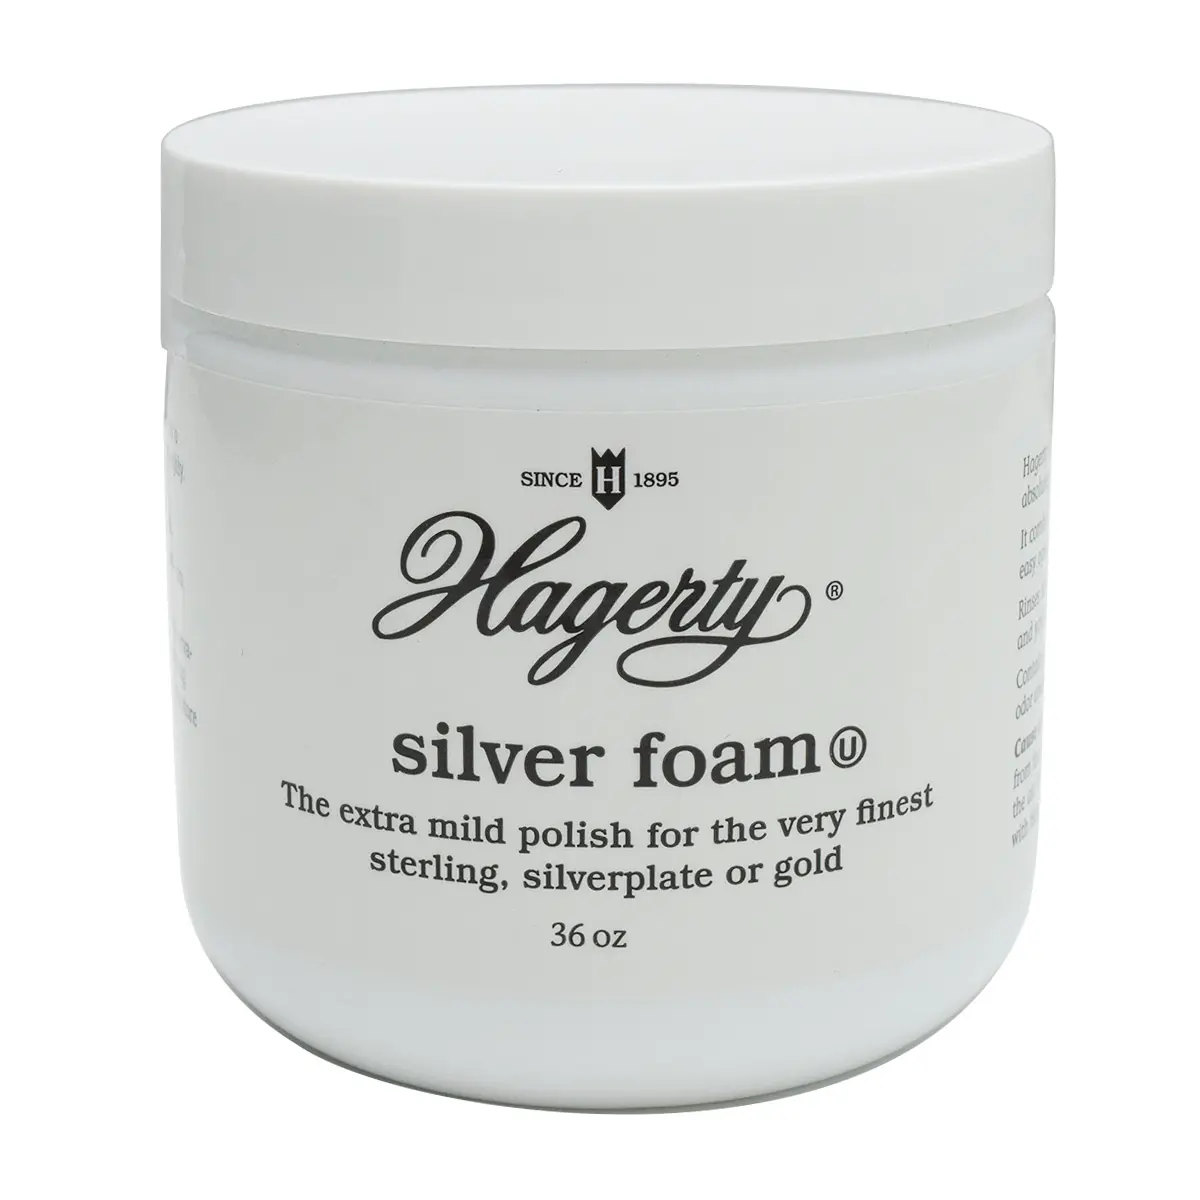
white contianer of silver foam polish

If you need to clean a silver piece that’s been in storage for a while, you’ll likely need to remove a layer of dark tarnish. Soap and water are insufficient for tarnish removal, so choose a low-abrasion silver polishing compound instead.

  • Rinse the silver before you begin. Surface dirt and dust can etch soft silver deeply if you rub it.
  • Apply a bit of polishing compound to a cotton ball or cellulose sponge, and apply it gently to the silver. Rub the silver in straight lines — not in circles — to remove the tarnish.
  • Rinse away the polishing compound, and dry the silver thoroughly when you are done polishing it.

Silver Polishing Methods We Don’t Recommend

If a polishing compound removes tarnish very quickly, it’s probably too harsh. You should generally avoid polishing silver with anything that has the label “metal polish,” for example. Silver is much more delicate than many other metals. A harsh cleaner may etch silver or remove its natural patina. These are some of the silver polishing methods that we don’t recommend.

  • Ultrasonic cleaners: This cleaning method removes tarnish from silver quickly. Unfortunately, it also removes natural or factory-applied patina. Silver placed in an ultrasonic cleaner will come out white, but it’ll also appear dull and lack its original shine.
  • Rouge polishing cloths: Jeweler’s rouge is powdered iron oxide. Rouge is abrasive, so it removes tarnish quickly. Unfortunately, it also etches soft silver. Avoid using it.
  • Aluminum foil and baking soda: You can quickly remove tarnish from silver items by placing them in a foil-lined container, sprinkling baking soda on them and pouring hot water into the container. Although this method is effective in removing tarnish, it’ll also remove patina. In addition, it’ll cause pitting and result in the silver forming tarnish more quickly in the future.

A Word About Coins

With careful storage, a silver coin forms a beautiful patina over time. You should never attempt to remove the patina by cleaning the coin. Doing so could actually lower its value.

View Full Article